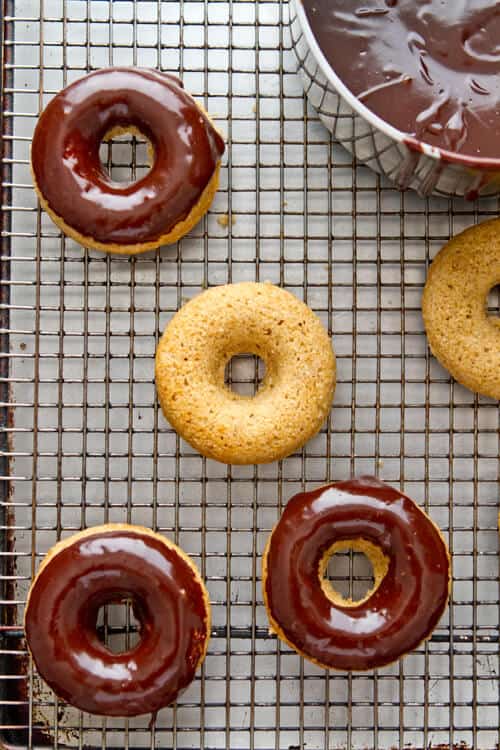
Like whole grains? If so, you are going to love this post!! After all, what could be better than a new toy? Ummm... maybe these Whole Wheat Chocolate Glazed Donuts?
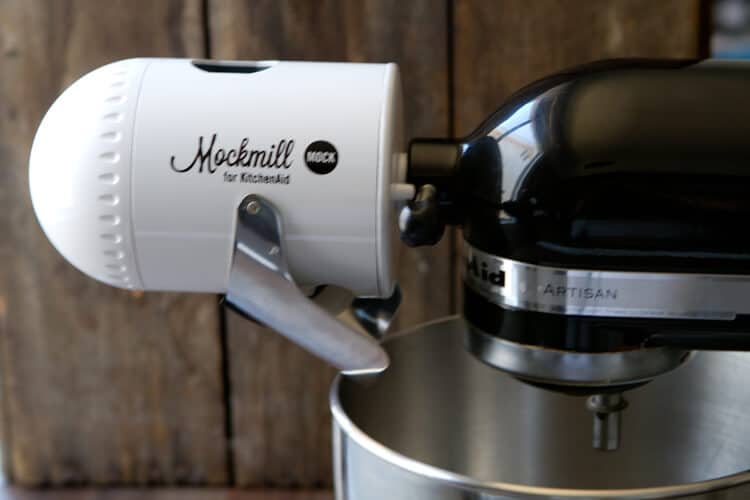
So, what is this new toy? A Mockmill. A what? The Mockmill is a grain mill that attaches to a stand mixer- and pretty much one of the best attachments for my kitchenaid I've ever tried. Hands down, the Mockmill is the best grain mill I've ever tried - in fact, I'm becoming a little obsessed with this gadget!
Why I love the MockMill:
- Made with ceramic bonded corundum stone - this mill can produce a wide range of textures - from a relatively course grind to a very fine flour.
- Incredibly easy to clean - there are only 4 parts, including the screwclamp for attaching to the kitchenaid. That's it.
- Incredibly easy to put together - I figured out how to put it together and attach it to my kitchenaid all by my little ole self - without having to consult the manual. Which, if you've ever watched me try and assemble mechanical things, you know how big a deal this is!
- No need for another countertop appliance - since the Mockmill is an attachment, you get even more use out of your mixer and don't have to store another, counter hogging appliance.
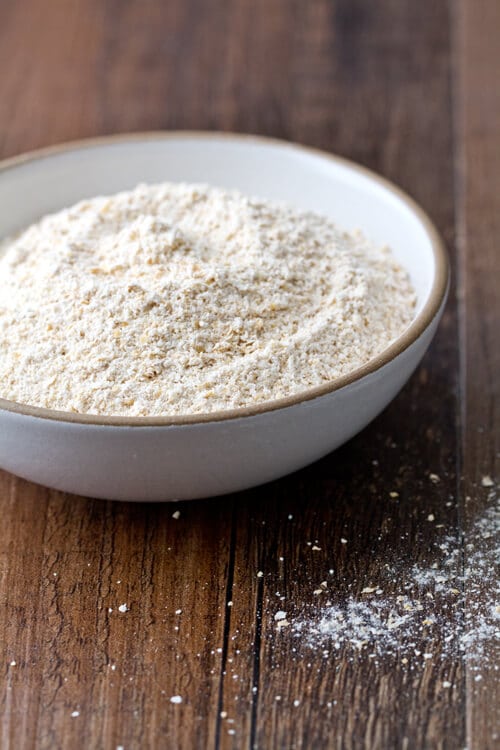
- Freshly milled flour is a gamechanger - this one came as a bit of a surprise. Nowadays, you can find just about any type of flour either online or in your local natural foods store. But I was absolutely astounded at how much better the freshly ground flour tasted.
So what exactly can you grind with the Mockmill? Pretty much any grain you'd like. Rice, wheat, rye, oats, buckwheat, corn, amaranth or even teff. The possibilities could keep you occupied for days. As I mentioned, I was truly astounded at how much better the freshly milled flour tasted - which makes sense. Whole grains, once they are ground, begin to oxidize and loose flavor - the advantage of milling your own flour is that you can store the grains for quite a long time without any loss of flavor. Given how quick and easy it is to mill these grains, you can easily mill just what you need- which is terrific for grains that you might only use small amounts of (rye for example).
How it works
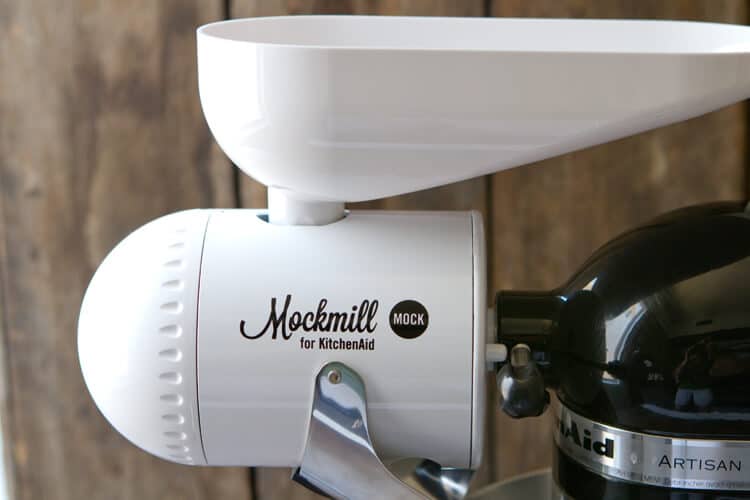
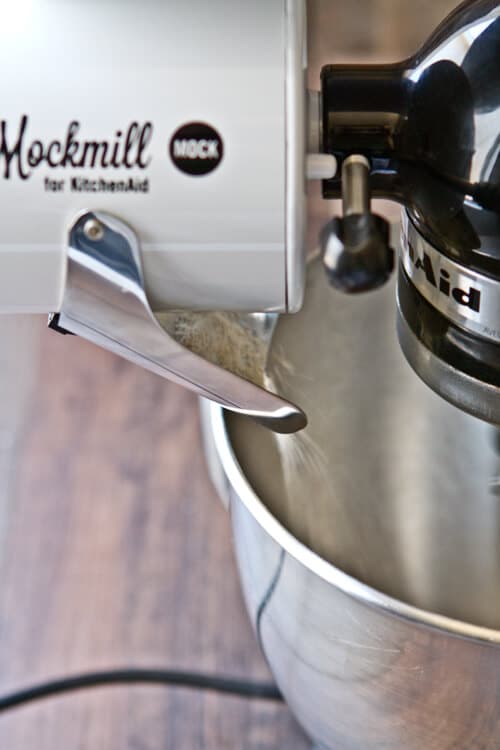
It's a bit like magic! Simply attach the Mockmill to your stand mixer, attach the grain guide and the hopper - and that's it!
Whole Wheat Chocolate Glazed Donuts
And now... time for donuts! These whole wheat donuts are were, I have to say, a bit addictive. Using freshly ground whole wheat (from wheat berries I bought at my local natural foods store) made all the difference. The nutty flavor of the flour really came through and, since I'd milled the flour to a somewhat fine consistency, the donuts weren't heavy. Dipped in a luscious chocolate glaze, these Whole Wheat Chocolate Glazed Donuts were a delicious treat - and a great way to experiment with the Mockmill!
Mockmill graciously provided the Mockmill for my review. As always, all opinions are mine and mine alone.
📖Recipe

Whole Wheat Chocolate Glazed Donuts
Ingredients
- 1 cup freshly milled whole wheat flour
- 1 cup all purpose flour
- 2 teaspoons baking powder
- ⅔ cup sugar
- 1 teaspoon cinnamon
- 1 teaspoon salt
- ¼ cup unsalted butter
- ½ cup milk
- ½ cup plain yogurt
- 2 eggs
- 2 teaspoons vanilla
- Chocolate Glaze:
- ½ cup unsalted butter
- ¼ cup milk
- 1 Tablespoon light corn syrup
- 2 teaspoons vanilla extract
- 4 oz. dark bittersweet chocolate broken into bits
- large pinch of salt
- 2 cups confectioners sugar
- 1 teaspoon cinnamon
Instructions
- Pre heat the oven to 350 degrees.
- In a large bowl combine the flours, baking powder, sugar, cinnamon and salt.
- Cut the butter in and rub with your fingers until the mixture resembles coarse sand.
- In another small bowl, combine the milk, yogurt,eggs and vanilla.
- Mix to combine.
- Add the wet ingredients to the dry ingredients and mix until combined.
- Do not overmix!
- Spray two donut pans lightly with cooking spray.
- Fill each donut cup ⅔ way full.
- Bake for 14 - 16 minutes until the donuts are golden brown and a skewer inserted comes out clean.
- Remove from the oven and let cool.
- Repeat with remaining batter.
- When cool, dip donuts into warm glaze.
- Place on rack.
- Let cool for 30 minutes.
- Eat!
- For Chocolate Glaze:
- Sift the confectioners sugar with the cinnamon and set aside.
- In a medium saucepan, combine the butter, milk, corn syrup, vanilla, chocolate and salt.
- Over medium high heat, melt the chocolate, stirring frequently.
- When the chocolate is melted and the mixture is smooth, whisk in the sifted confectioners sugar.
Recipe Notes
Nutrition


Jane, The Heritage Cook says
Great minds Nancy ... we'll be sharing ours on an upcoming Chocolate Monday. Gluten-free are delicious, but boy I sure wish I could taste yours. They look incredible!! And I am fascinated by the mill. Gonna have to give that a go! 🙂